Since Rust is a very fast compiled language with built-in safety-features, it is very attractive to build a web-api in. However, building and deploying are two different things. In these blogs I will tell you about how I did just that.
Prerequisites
To follow along with these tutorials, you need a few tools:
- An Azure subscription. This can of course be a free subscription. More information can be found on the Azure page.
- Visual Studio Code. You need to have installed this on your machine. Installation files and instructions can be found on the Visual Studio Code homepage.
- Since we will be compiling, you need to have Rust installed on your local machine. Instruction on how to do that can be found on the Rust Language homepage.
- We will be building Docker image, so Docker desktop is needed.
- An account on github might come in handy later.
The Web API will be deployed to an Azure Container App, which is a fast, easy and flexible way to deploy Web Apps.
Also we will be using quite a lot of commandline tools in this tutorial, so it will be convenient to have some form of CLI or Terminal installed. These type of programs come standard with MacOs and most versions of Linux. For Windows I recommend the Windows Terminal.
What are we going to build?
We are going to build a very simple web api. After building and testing that, we will build a Docker image, push it to the Docker hub, and deploy it to an Azure Container App.
Setting up the Rust project.
Setting up the basic Rust project is quite easy: open a terminal or commandline, and make sure you are in a directory where you want to build this project.
Then type:
cargo new azure_web_appNow go into the newly created directory by typically typing this:
cd azure_web_appNow simply type:
cargo runAnd you will see this:
   Compiling azure_web_app v0.1.0 (C:\Projects\Rust\blog\azure_web_app)
    Finished dev [unoptimized + debuginfo] target(s) in 1.38s
     Running `target\debug\azure_web_app.exe`
Hello, world!
Congrats! The first hurdle has been taken.
Installing Rocket
For this Web API we will be using the Rocket framework. This framework is quite easy to learn, and performant.
In the azure_web_app directory, open Visual Studio Code by typing
code .and you will be greeted by a screen like this:
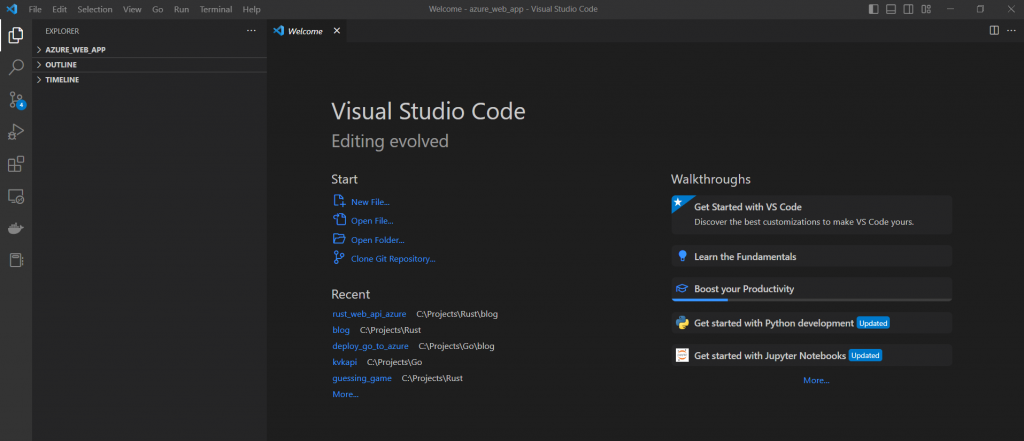
Open the Azure_Web_App project and then open the Cargo.toml:

In the Cargo.toml file, things like dependencies and other project properties are defined
Enter the following line in under [dependencies]
rocket = "0.5.0-rc.2"
Now open a terminal from within Visual Studio Code:
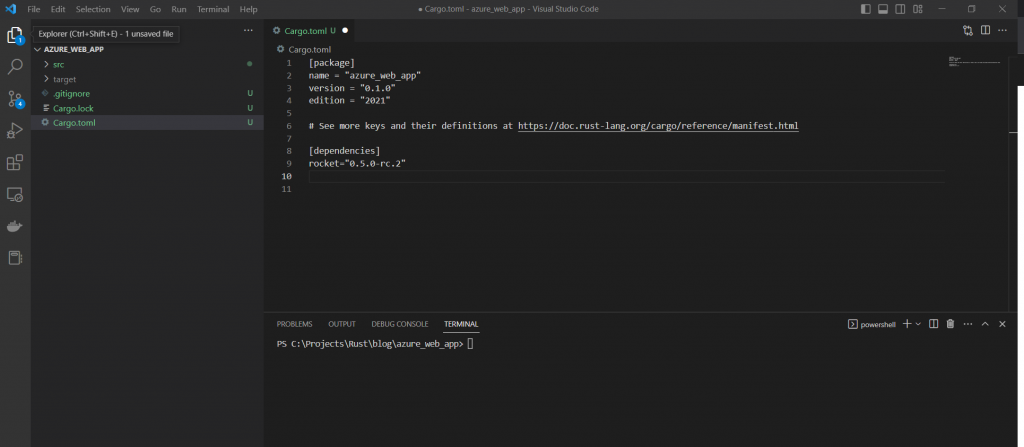
Now in the terminal type:
cargo buildThis will start the build-process. This can take some time:
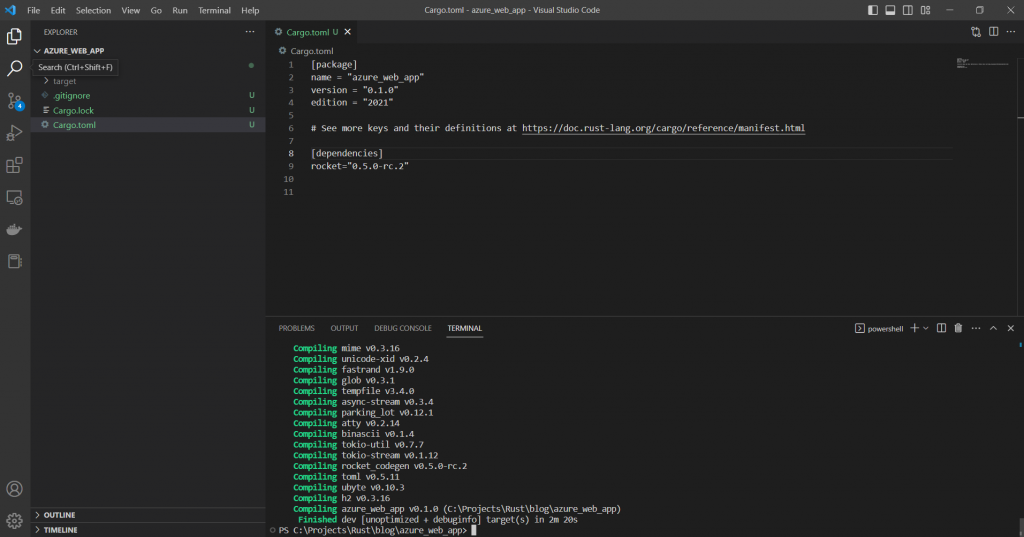
As you can see, on my machine, it takes almost 2.5 minutes.
Now it is time to enter some real code. Open main.rs in the src directory and enter the following code:
#[macro_use]extern crate rocket;

#[get("/ping")]
fn ping() -> &'static str {
    "Pong!"
}

#[launch]
fn rocket() -> _ {
    rocket::build().mount("/",routes![ping])
}
What this code does is quite simple:
- It defines a function named ping with the route /ping. All this does is return the string “Pong!”
- The rocket function has been marked as launch, that means that this is the entry point for this application. In it, the rocket server is built, and the route is mounted.
Now it is time to test, type this in the terminal:
cargo runAnd you should see something like this:
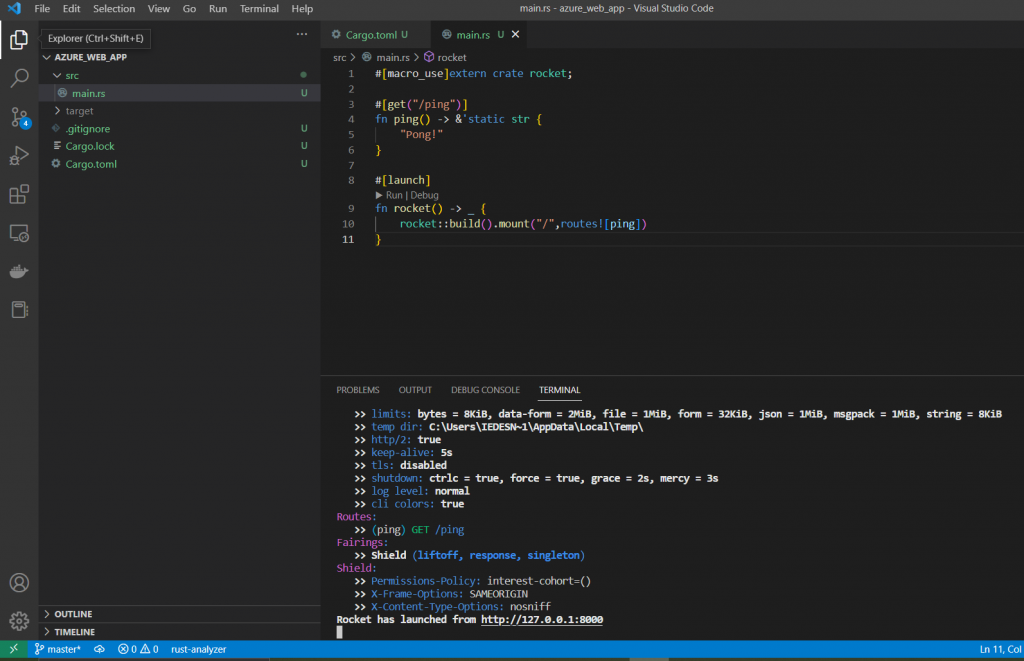
Now open a browser and type:
http://127.0.0.1:8000/pingAnd you should see something like this:
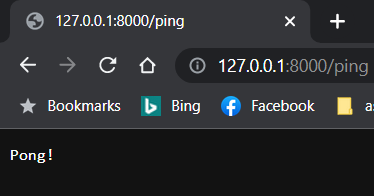
Congratulations! Your first Web API in Rust is running. Type Ctrl-C in the terminal to stop the server
Building the Docker image
In order to deploy this small API to an Azure Container App, we need to build a docker image. In order to do that, we need to build a Docker file.
First ensure that you have the Docker Desktop installed and running.
Then add a file called Dockerfile to your project:
FROM rust:1.67 AS builder
WORKDIR /app
COPY . .
RUN cargo install --path .

FROM debian:buster-slim as runner
COPY --from=builder /usr/local/cargo/bin/azure_web_app /usr/local/bin/azure_web_app
ENV ROCKET_ADDRESS=0.0.0.0
EXPOSE 8000
CMD ["azure_web_app"]
Or in Visual Studio Code:

First make sure that you work with a clean directory:
cargo cleanThen build the image:
docker build -t <your dockerhub username>/rusttut:latest .Please allow some time for this build, on my laptop it took about 8 minutes.
Time to push the image to the docker hub. To do that, first we must login:
docker loginIf needed, enter your credentials. Now push it to the docker hub:
docker push <your dockerhub username>/rusttut:latestWell, we are now ready to deploy this to Azure
Preparing Azure
Login to the Azure Portal :
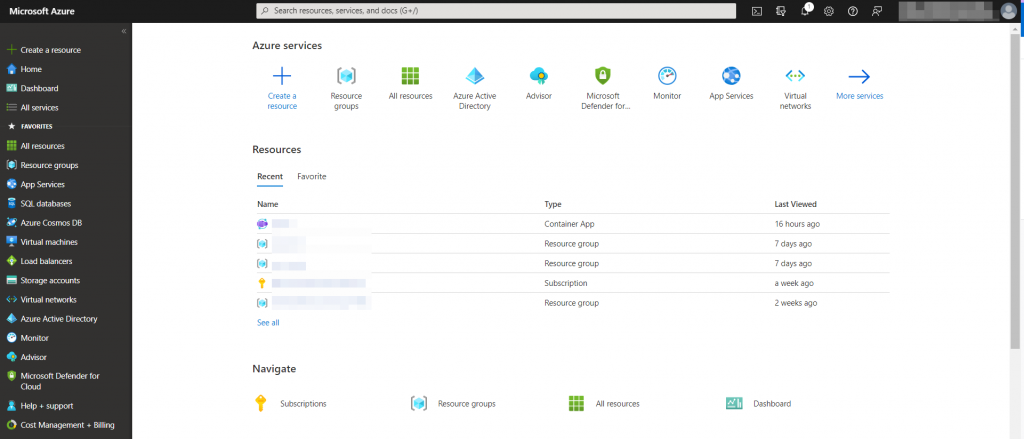
Click on ‘Resource Groups’:

Click the ‘Create’ button:
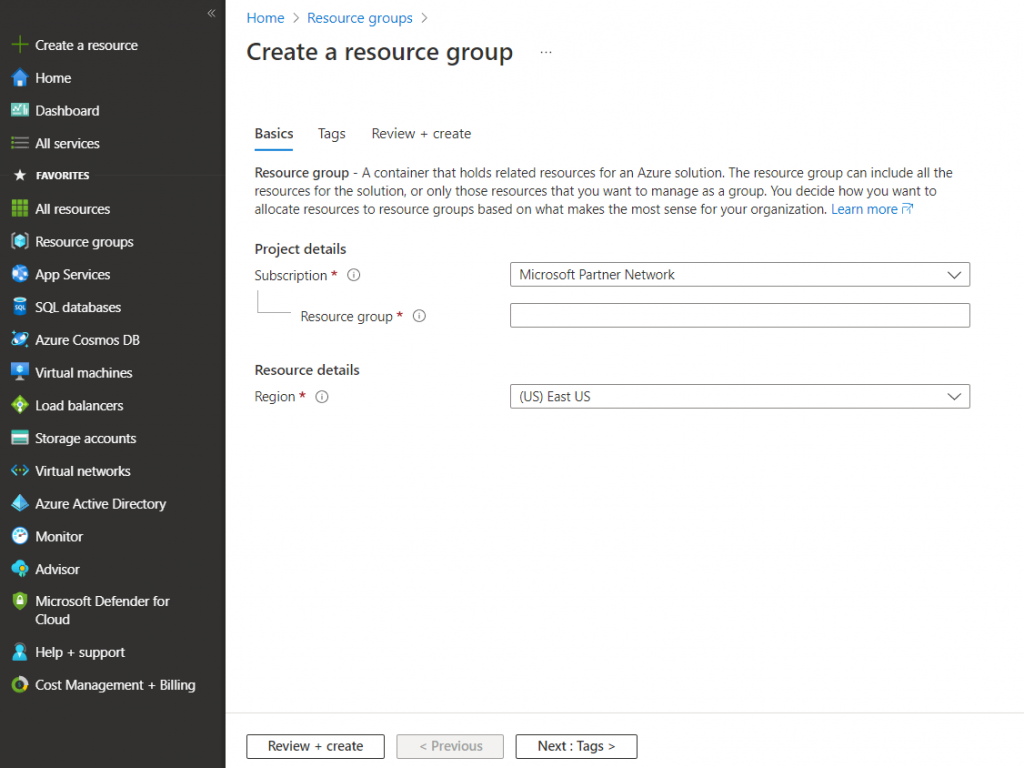
Now fill in ‘rg-rusttut’ as the resource group name, and the region closest to you in ‘Region’. For me that is ‘West Europe’:
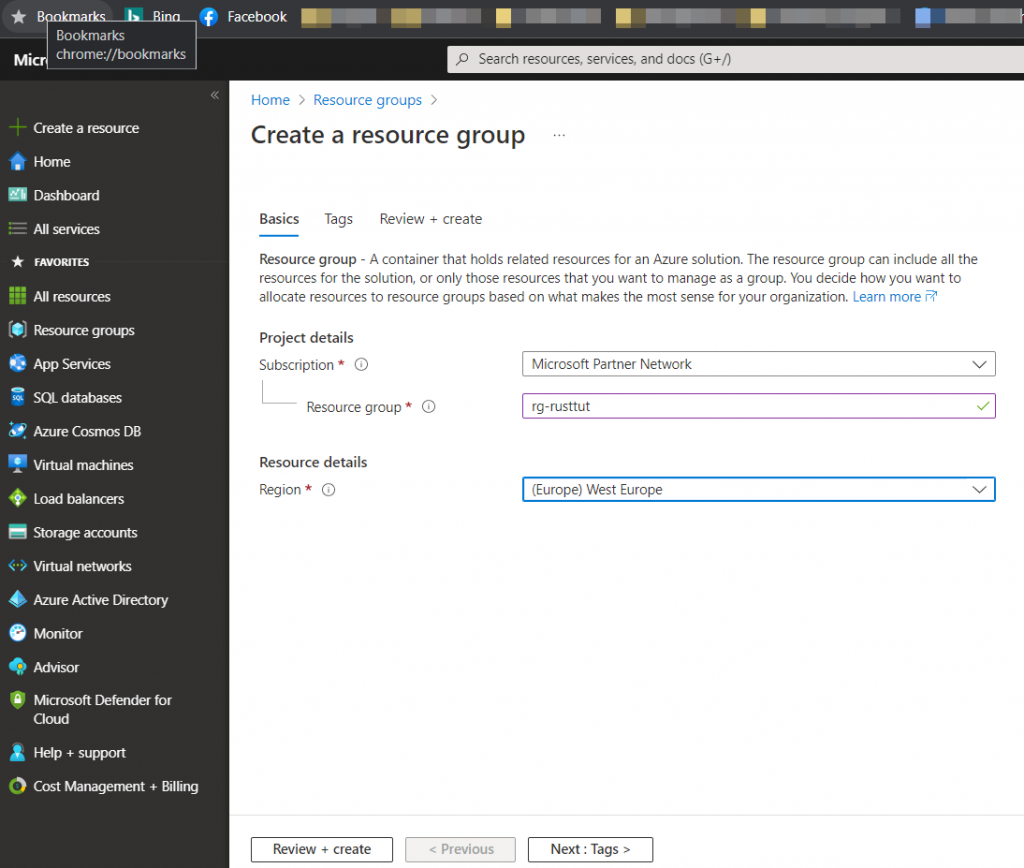
Click on ‘Review+create’:
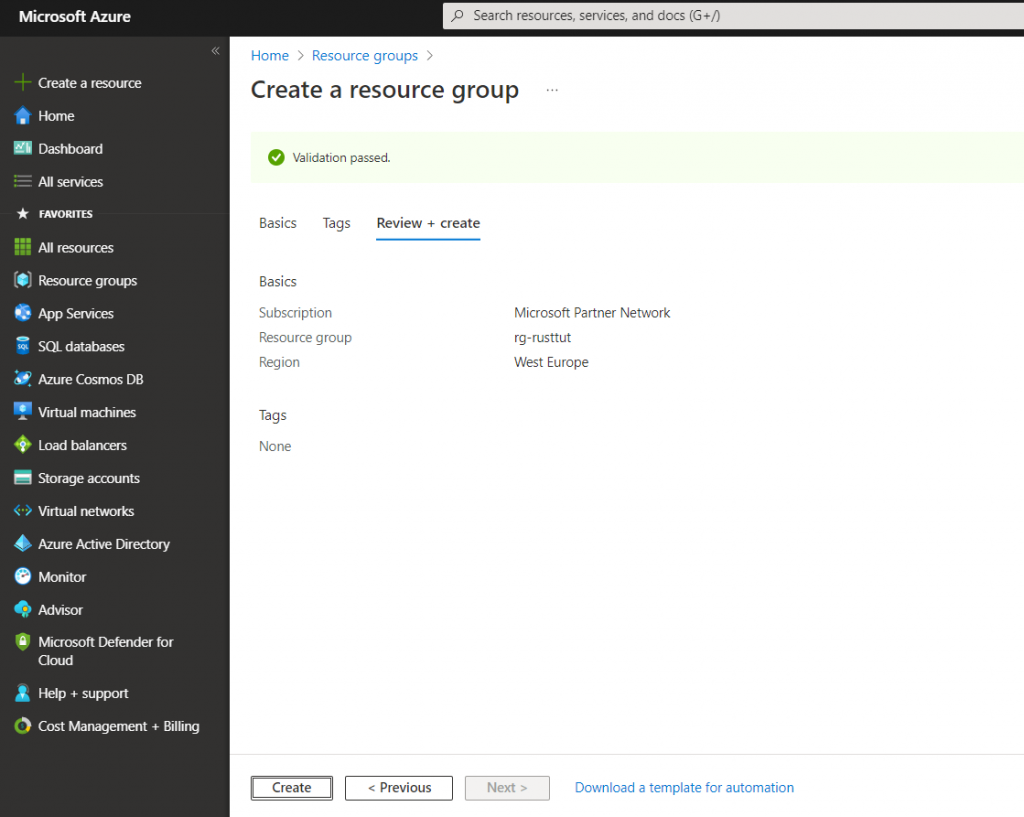
Click on ‘Create’ and usually within a few seconds the resource group is created:

Now click on the resource group we just created:
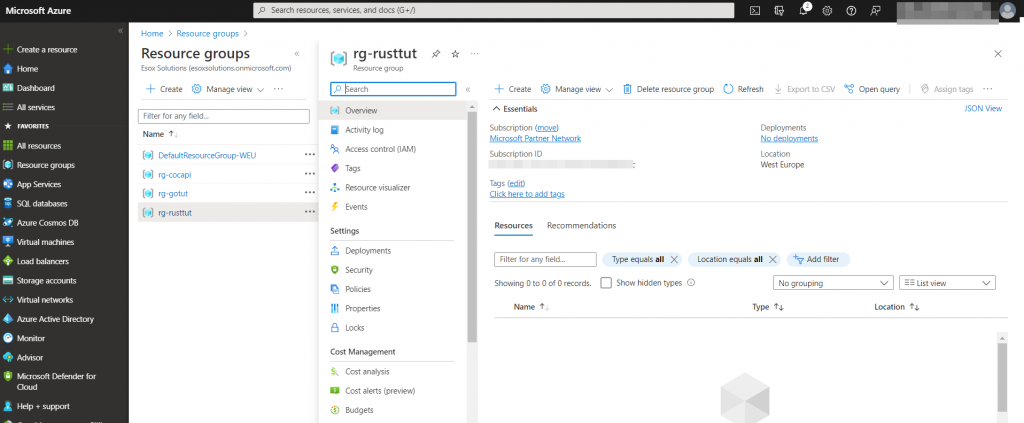
Click on the ‘Create’ button and you will see this screen:
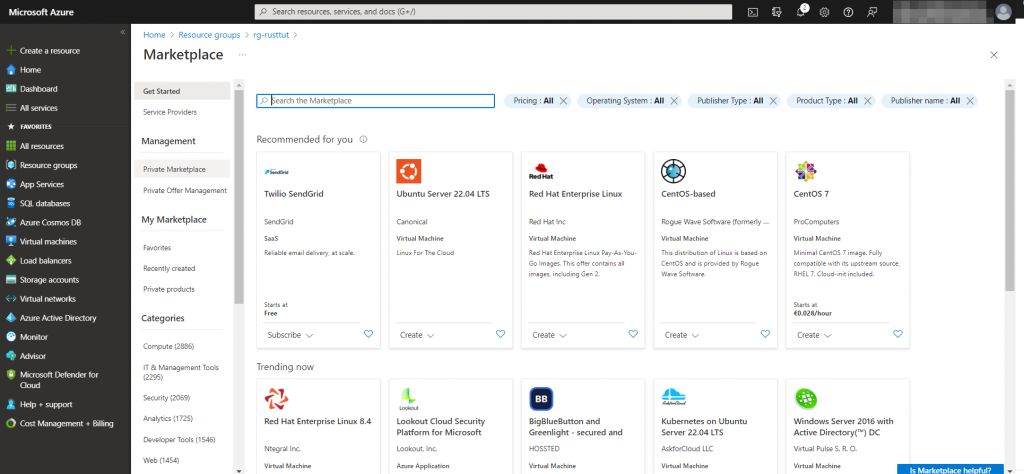
Now type ‘azure container app’ in the search box:
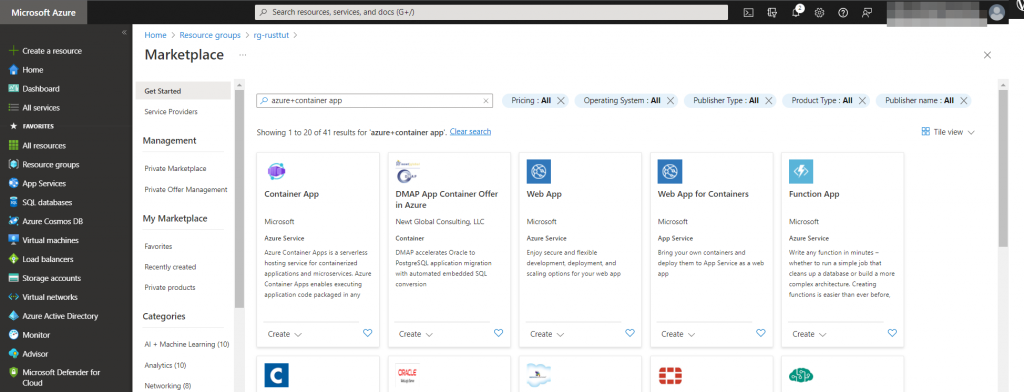
Now click on the ‘Container App’ icon:
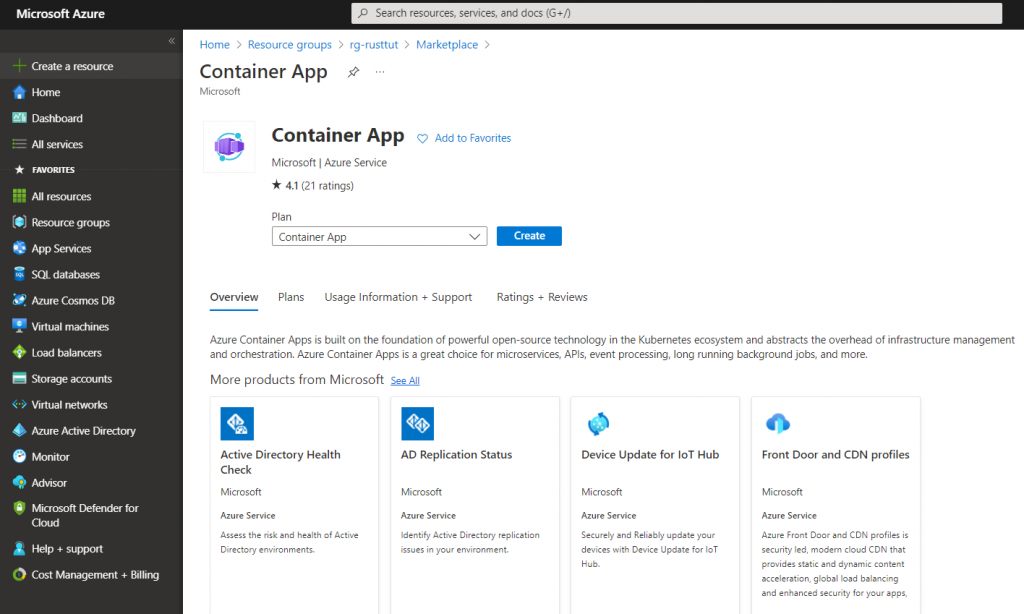
You will see this screen:
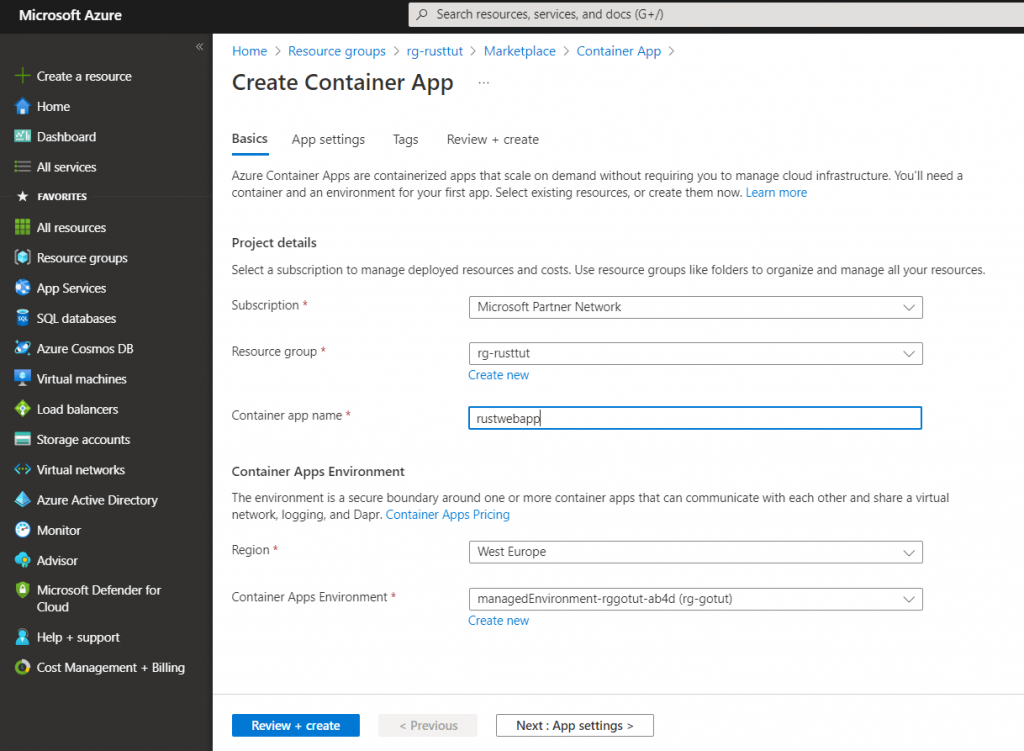
- Make sure the Resource Group is ‘rg-rusttut’, the group you just created.
- Name the container ‘rustwebapp’
- Choose the region closest to you, for me that is ‘West Europe’
- Click on ‘Create new’ for the ‘Container App Environment’
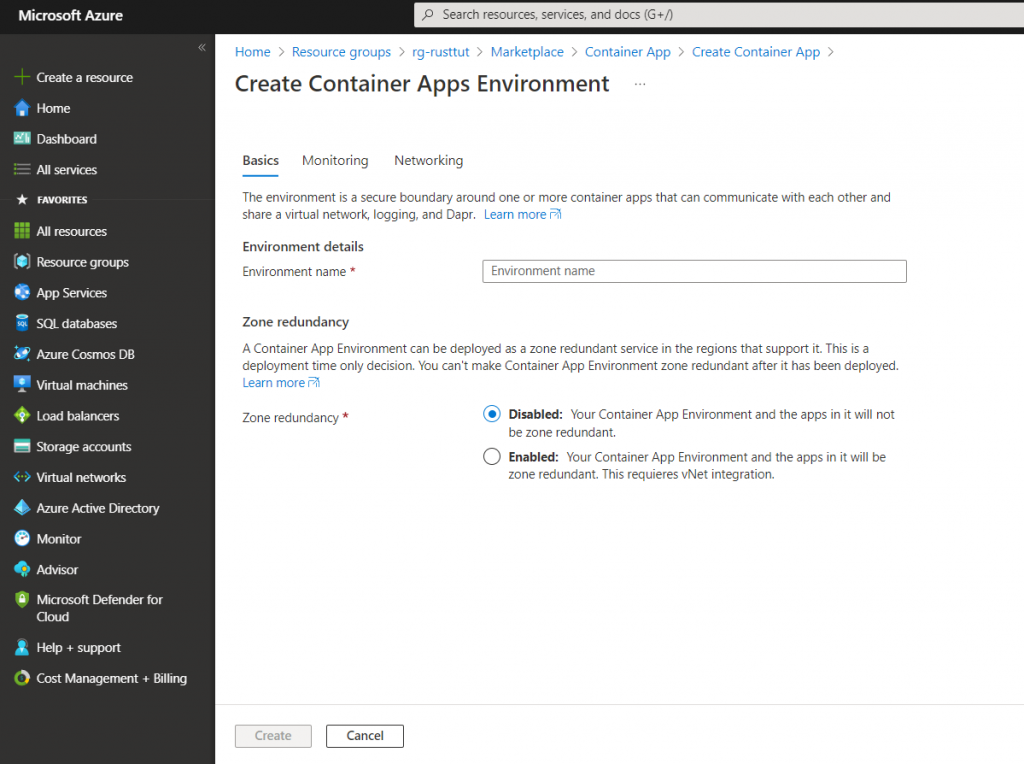
Fill this is an as follows:
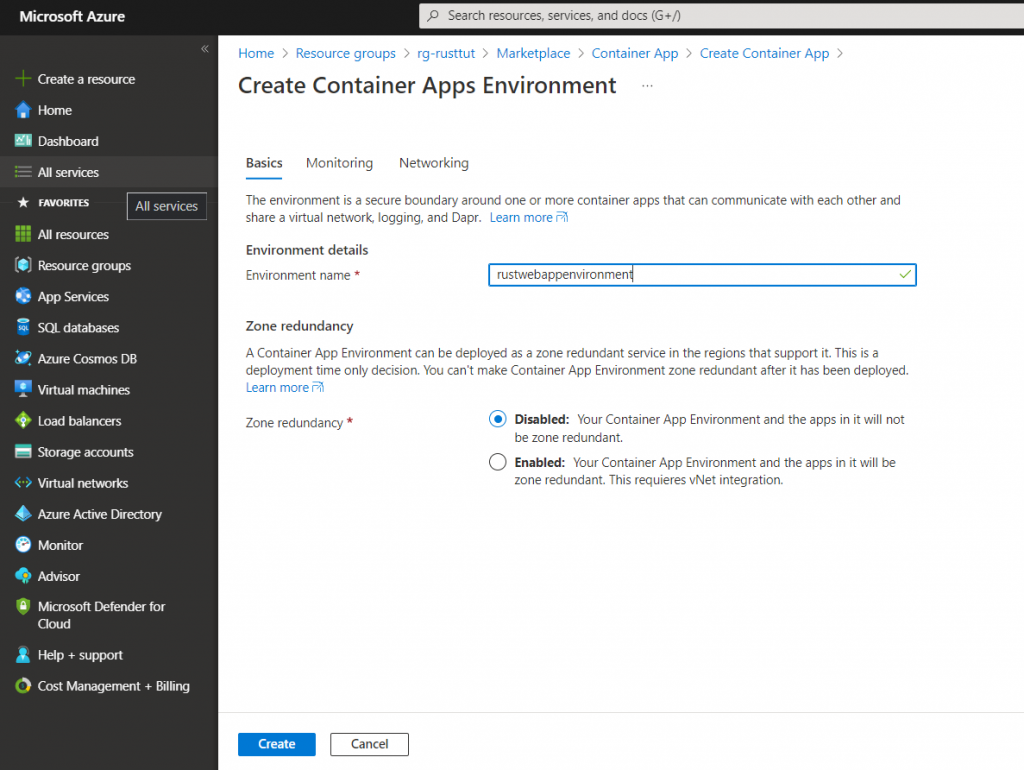
Leave the other tabs for the moment, for our project the default settings are more than enough.
Now click on ‘Create’ and you will get back to this screen:
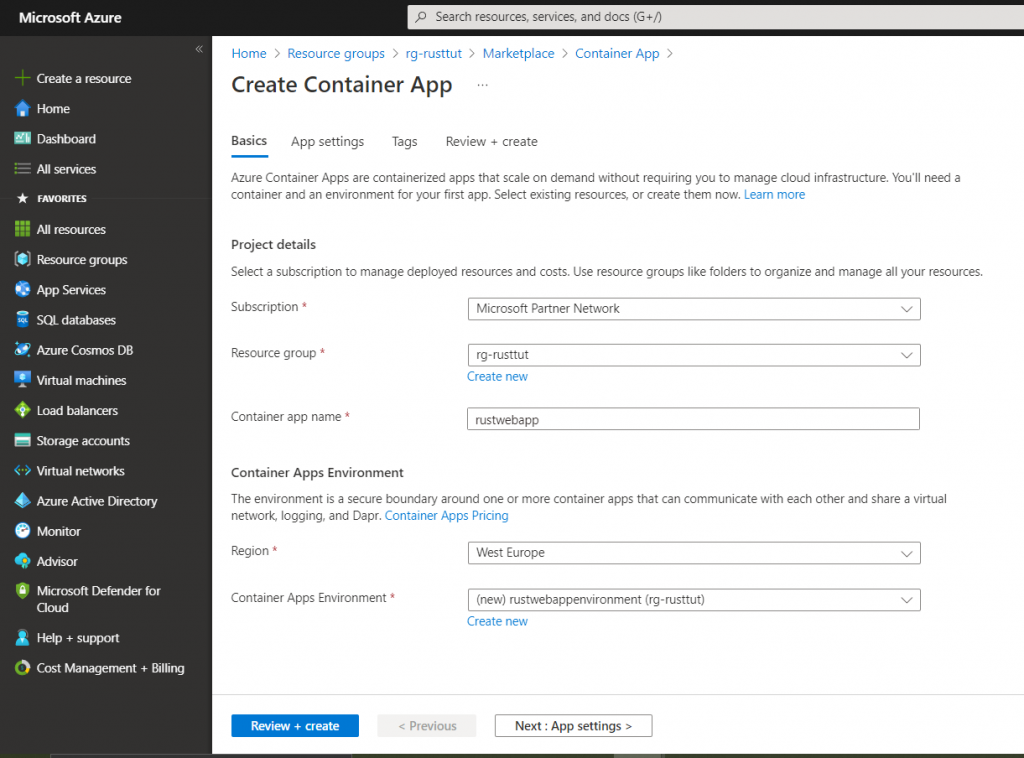
Now click on ‘Next: App settings >’ so we can set the image to use for this container app:
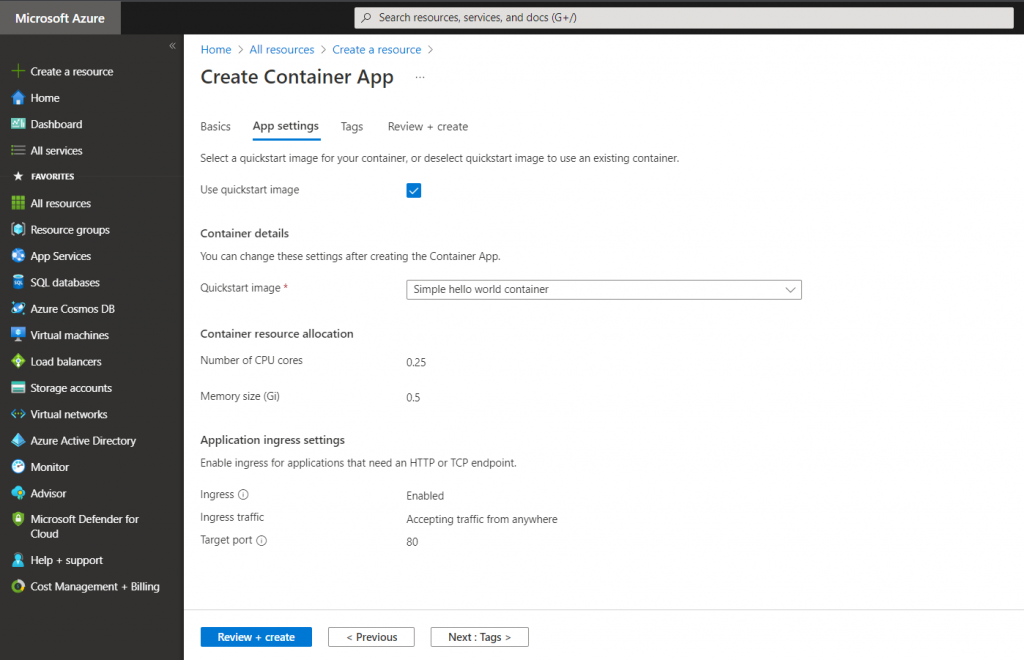
- Uncheck the quickstart image checkbox
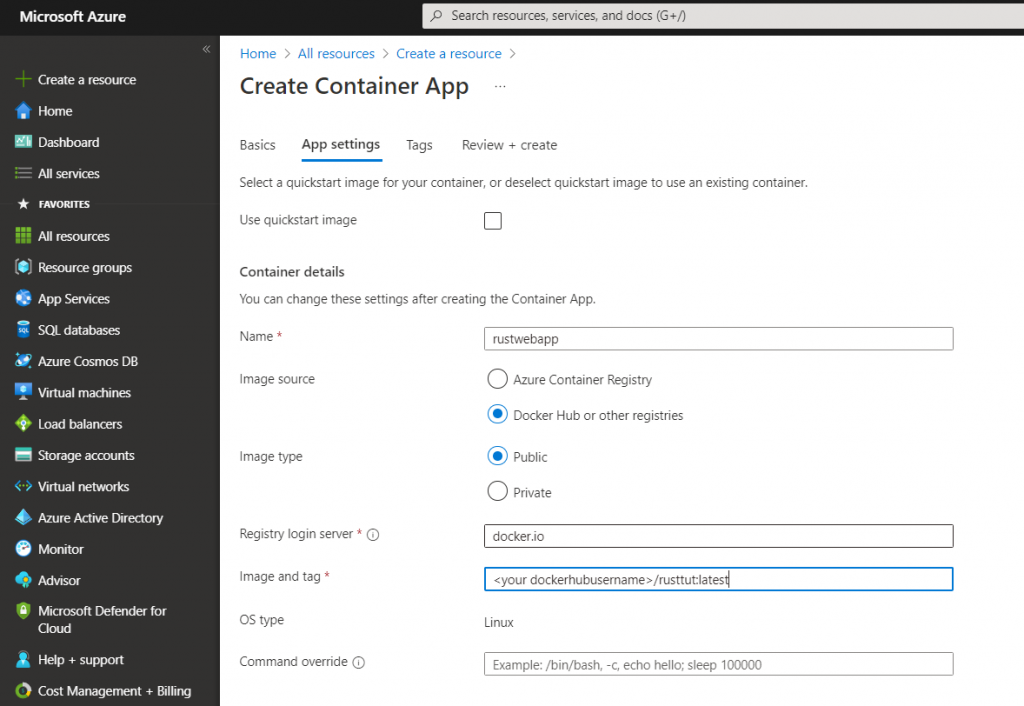
- Make sure the name is ‘rustwebapp’
- The ‘Image Source’ is ‘Docker Hub or other registries’
- The ‘Image Type’ is Public
- The ‘Registry login server’ is docker.io
- The ‘Image and Tag’ must be <your dockerhub username>/rusttut:latest
Now we move down on this same form:
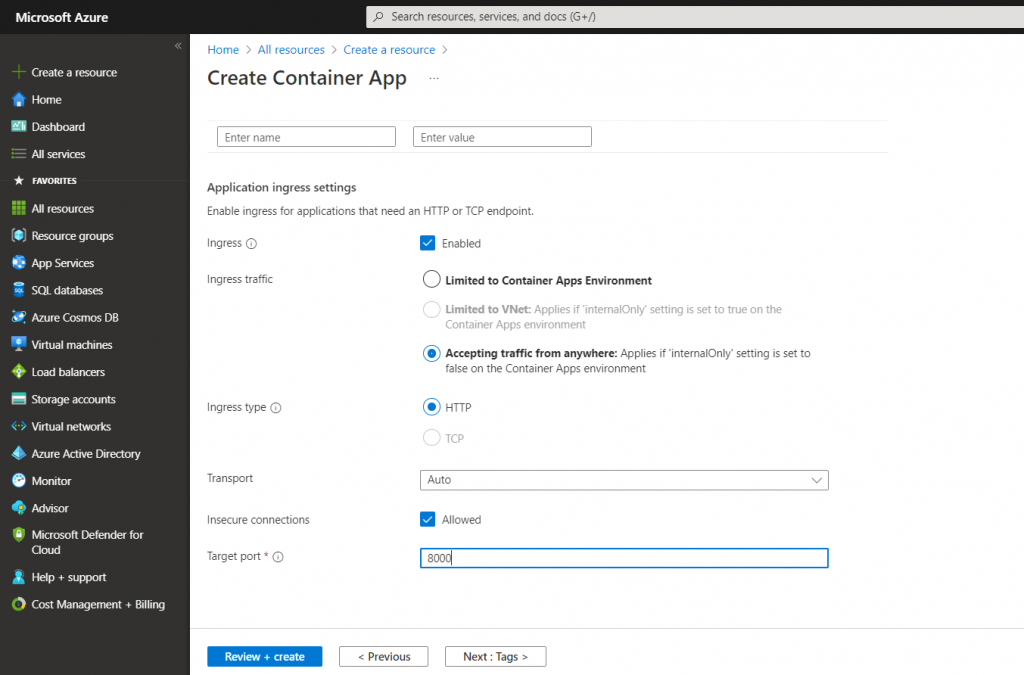
- We want to be able to access this container app, so Ingress must be enabled.
- We will also be ‘Accepting traffic from anywhere’
- Since this is a web Api, the Ingress type is ‘HTTP’
- Leave transport to ‘Auto’ and allow ‘Insecure connections’
- The target port is 8000. Since we expose port 8000 on our docker image, we need to specifiy, so traffic from port 80, that is the Container App Url, is redirected to port 8000
Now click ‘Review en create’. This will take you to the overview screen. Now click on ‘Create’ and your Container App will be deployed.
After deployment is complete, and this could take several minutes, you will be presented with this screen:
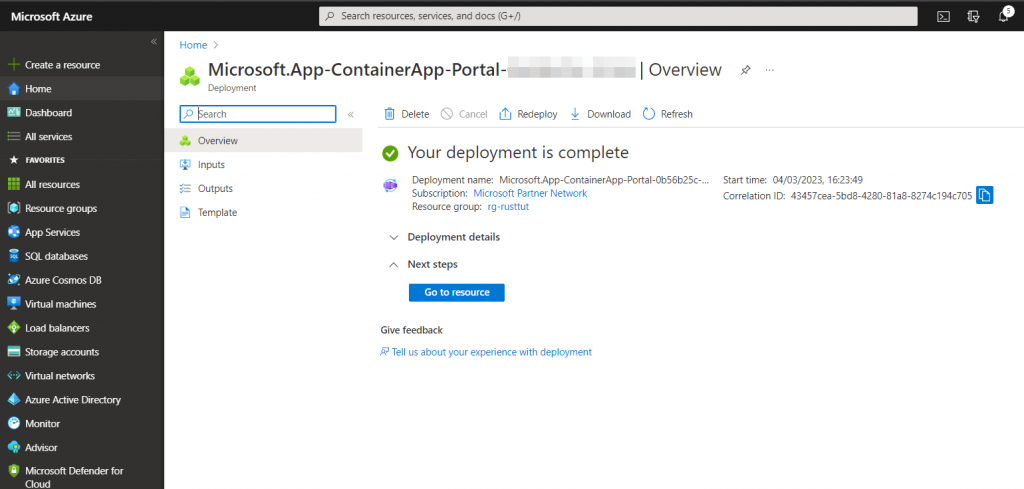
Click on ‘Go to resource’:
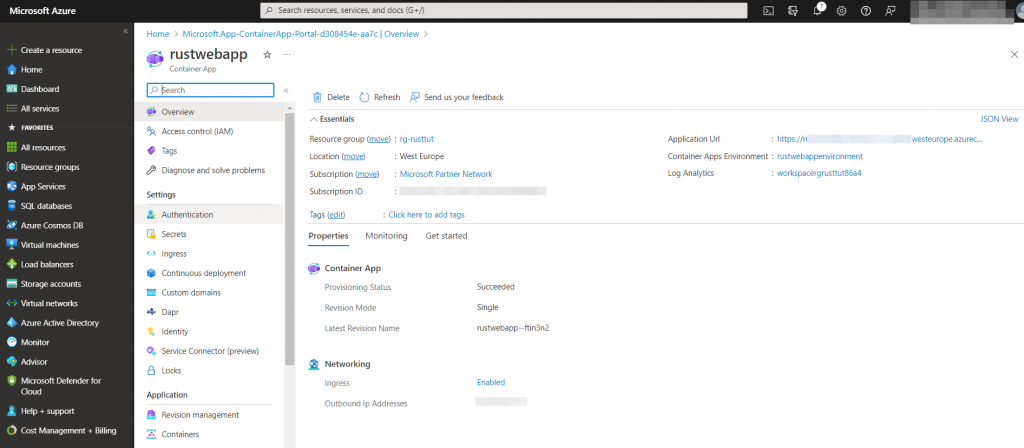
This is the overview of the Container App, where you can configure it further. However, for our purposes the Application Url is the most intersting. Copy this and paste it in a browser’s adress bar adding ‘/ping’ to the end, like this:

If everything went well, you will see this result.
That’s it, you have deployed Rocket web app in Rust to Azure. Feel free to experiment further, and watch this space for more tutorials.
